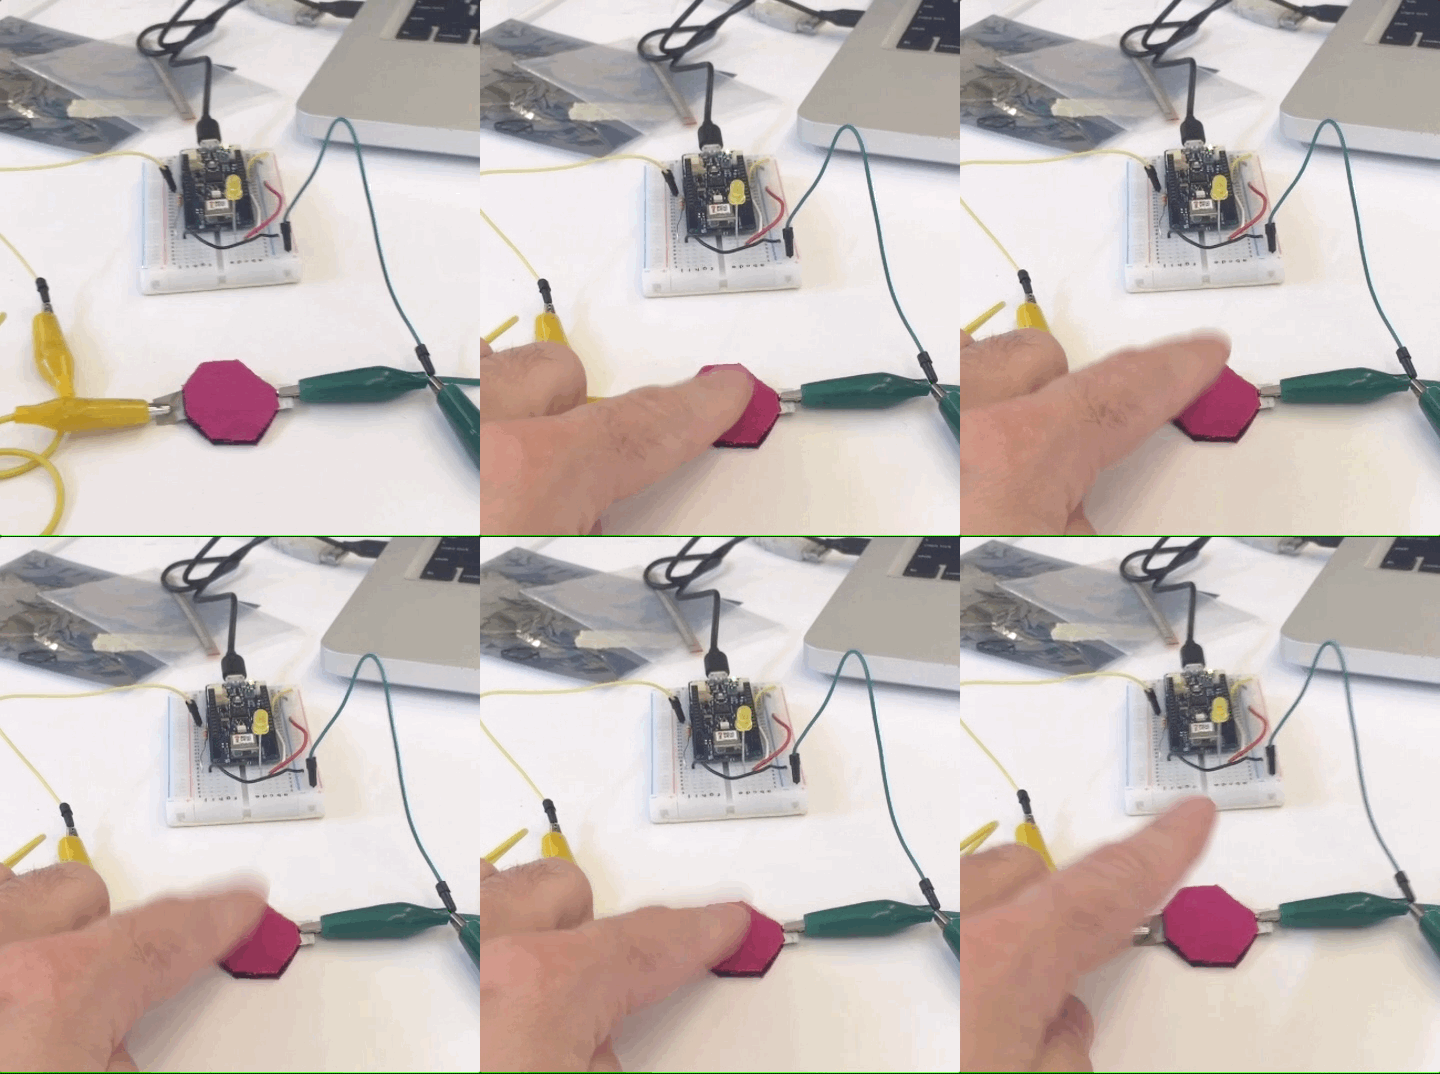
For this lab, we were to create one Velostat sensor and run it on our Arduino. Here you can see that the button is turning on an LED. Since this sensor is read by the analog pins on the Arduino, you get a value from 0 to 1024. In order to light the LED, you simply choose a threshold level between 0 and 1024, depending on the readings you get in the Serial Monitor.
Here is the Velostat button above before being glued together. The two conductive pieces of silver fabric are separated by the black Velostat piece. The Velostat will change resistance as pressure is applied to it, passing more or less current.
Here is a similar analog sensor setup as the Velostat but with a stretch fabric sensor.


